

Understanding the Importance of Proper Installation
A flawless installation is crucial in achieving the intended results, be it for home improvement, technology setups, or even business applications. The significance lies not just in aesthetics but also in the long-term functionality and durability of the installed components. Whether you’re hanging wallpaper, installing a software application, or setting up a new gadget, ensuring a proper installation process can save you time, money, and frustration in the future.
Preparation: Gathering the Right Tools and Materials
Before diving into any installation project, proper preparation is key. Having the right tools and materials handy can streamline the entire process.
- Installation Guide: Always refer to the manufacturer’s installation guide for specific instructions.
- Tools: Make sure to have all necessary tools, such as a screwdriver, tape measure, wallpaper brush, or any electronic setup tools.
- Work Area: Prepare the work area by clearing clutter and ensuring it’s well-lit.
- Safety Equipment: Don’t forget safety goggles, gloves, or other relevant protective gear.
WallpaperInstaller.ca offers a comprehensive range of tools and resources that can assist you in preparations, ensuring you have everything you need for a successful project.
The Step-by-Step Installation Process
While the specifics of each installation can vary greatly depending on the type of project, certain steps are commonly applicable across various types. Here’s a detailed breakdown.
Step 1: Assessing the Area
Before beginning any installation, it’s crucial to assess the area thoroughly.
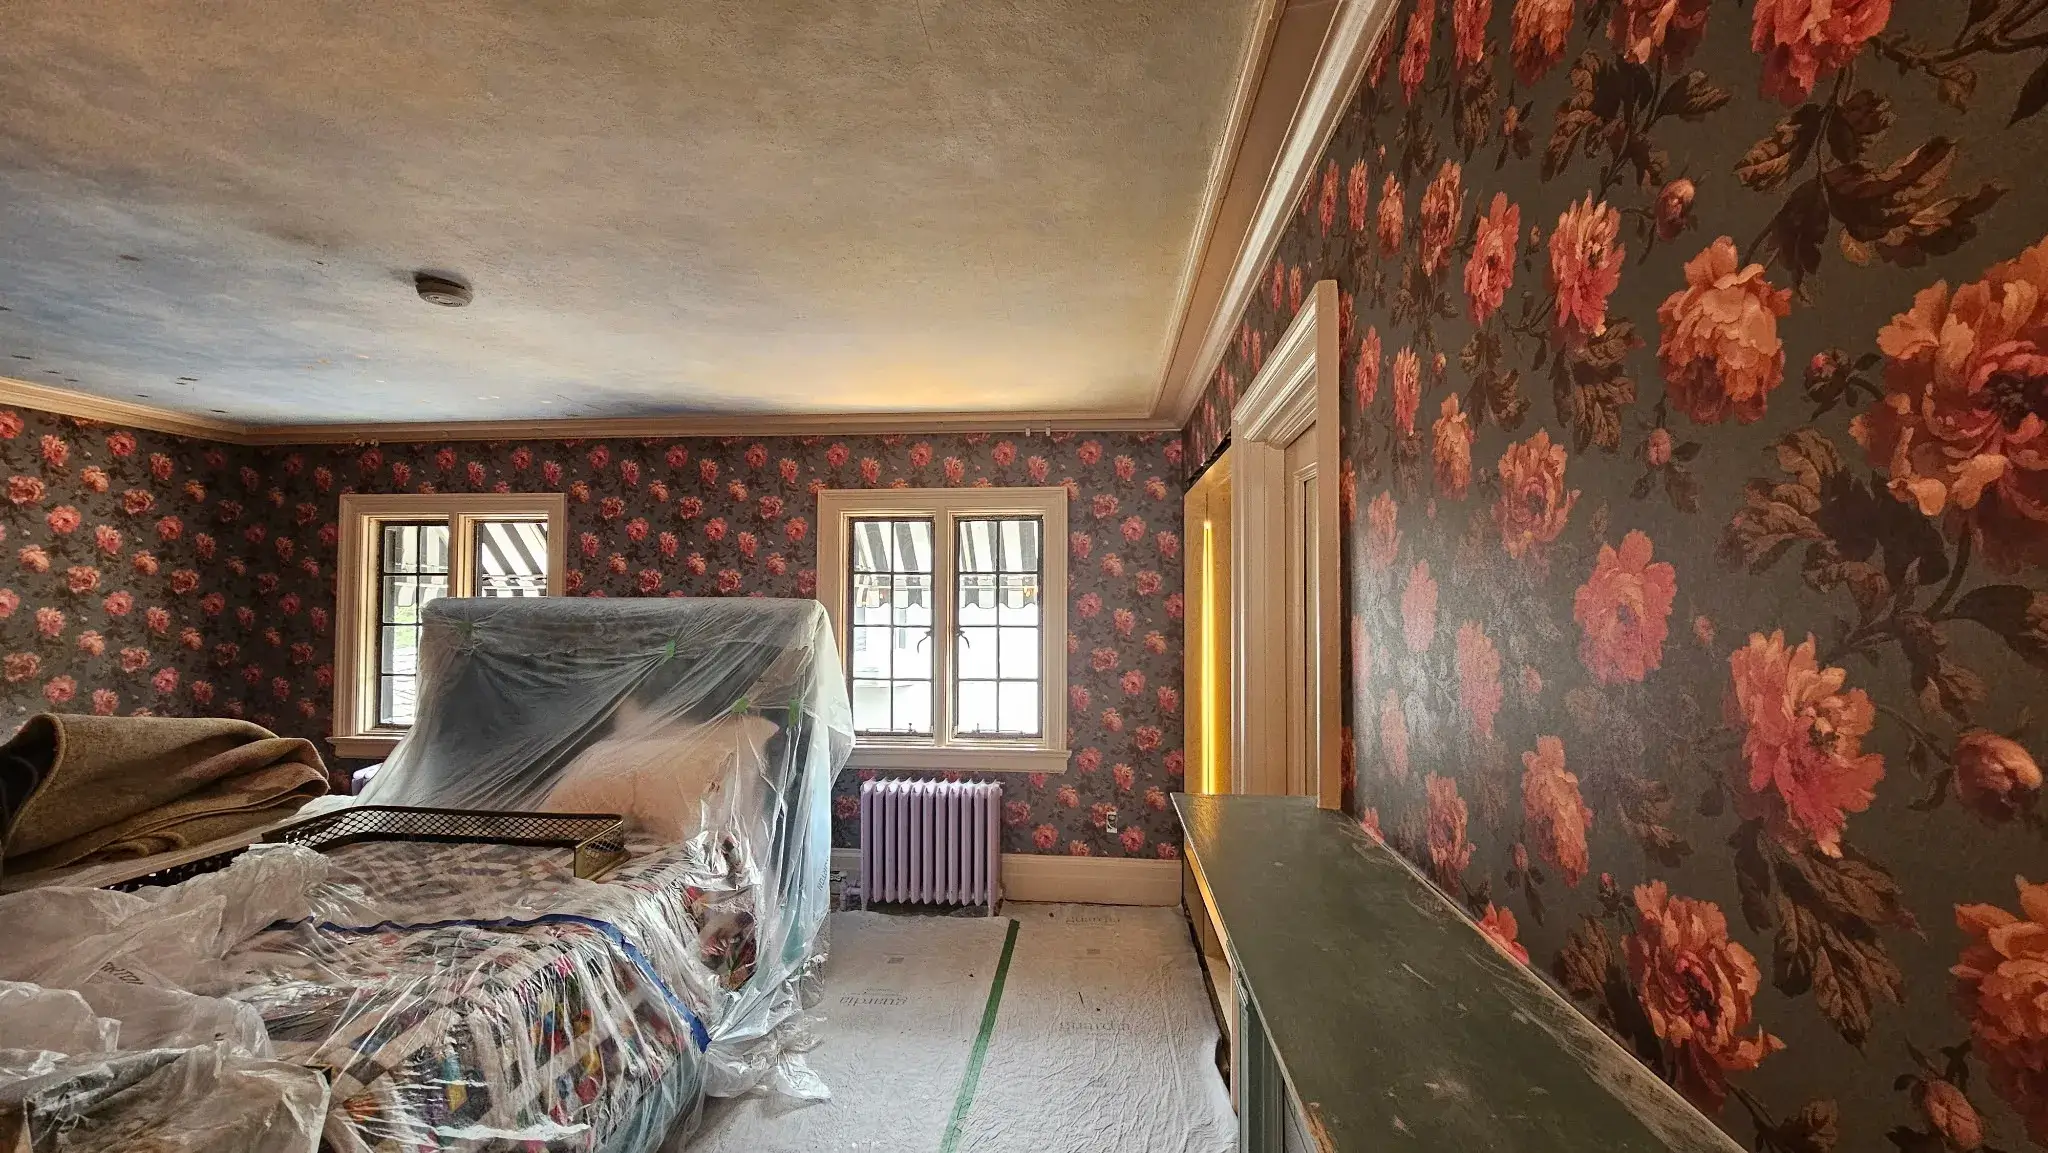
- Check for any damage that might impact the installation.
- Ensure that the surfaces are clean and dry.
- Measure the area accurately to avoid any miscalculations.
Step 2: Preparing the Surface
Whether you are installing wallpaper or a new electronic device, the surface preparation can greatly influence the outcome.
- Clean the surface to remove dust, grease, or other contaminants.
- For wallpaper, use a primer if necessary. This holds the adhesive better and improves the longevity of your installation.
- For electronics, ensure adequate cooling and ventilation areas are available.
Step 3: Setting Up Your Tools and Materials
A disorganized workspace can lead to errors and oversights.
- Arrange tools within easy reach.
- Lay out materials in the order they will be used.
Step 4: Installation
Now, it’s time to commence the actual installation. Each type of project may have specific steps, but the following are general best practices.
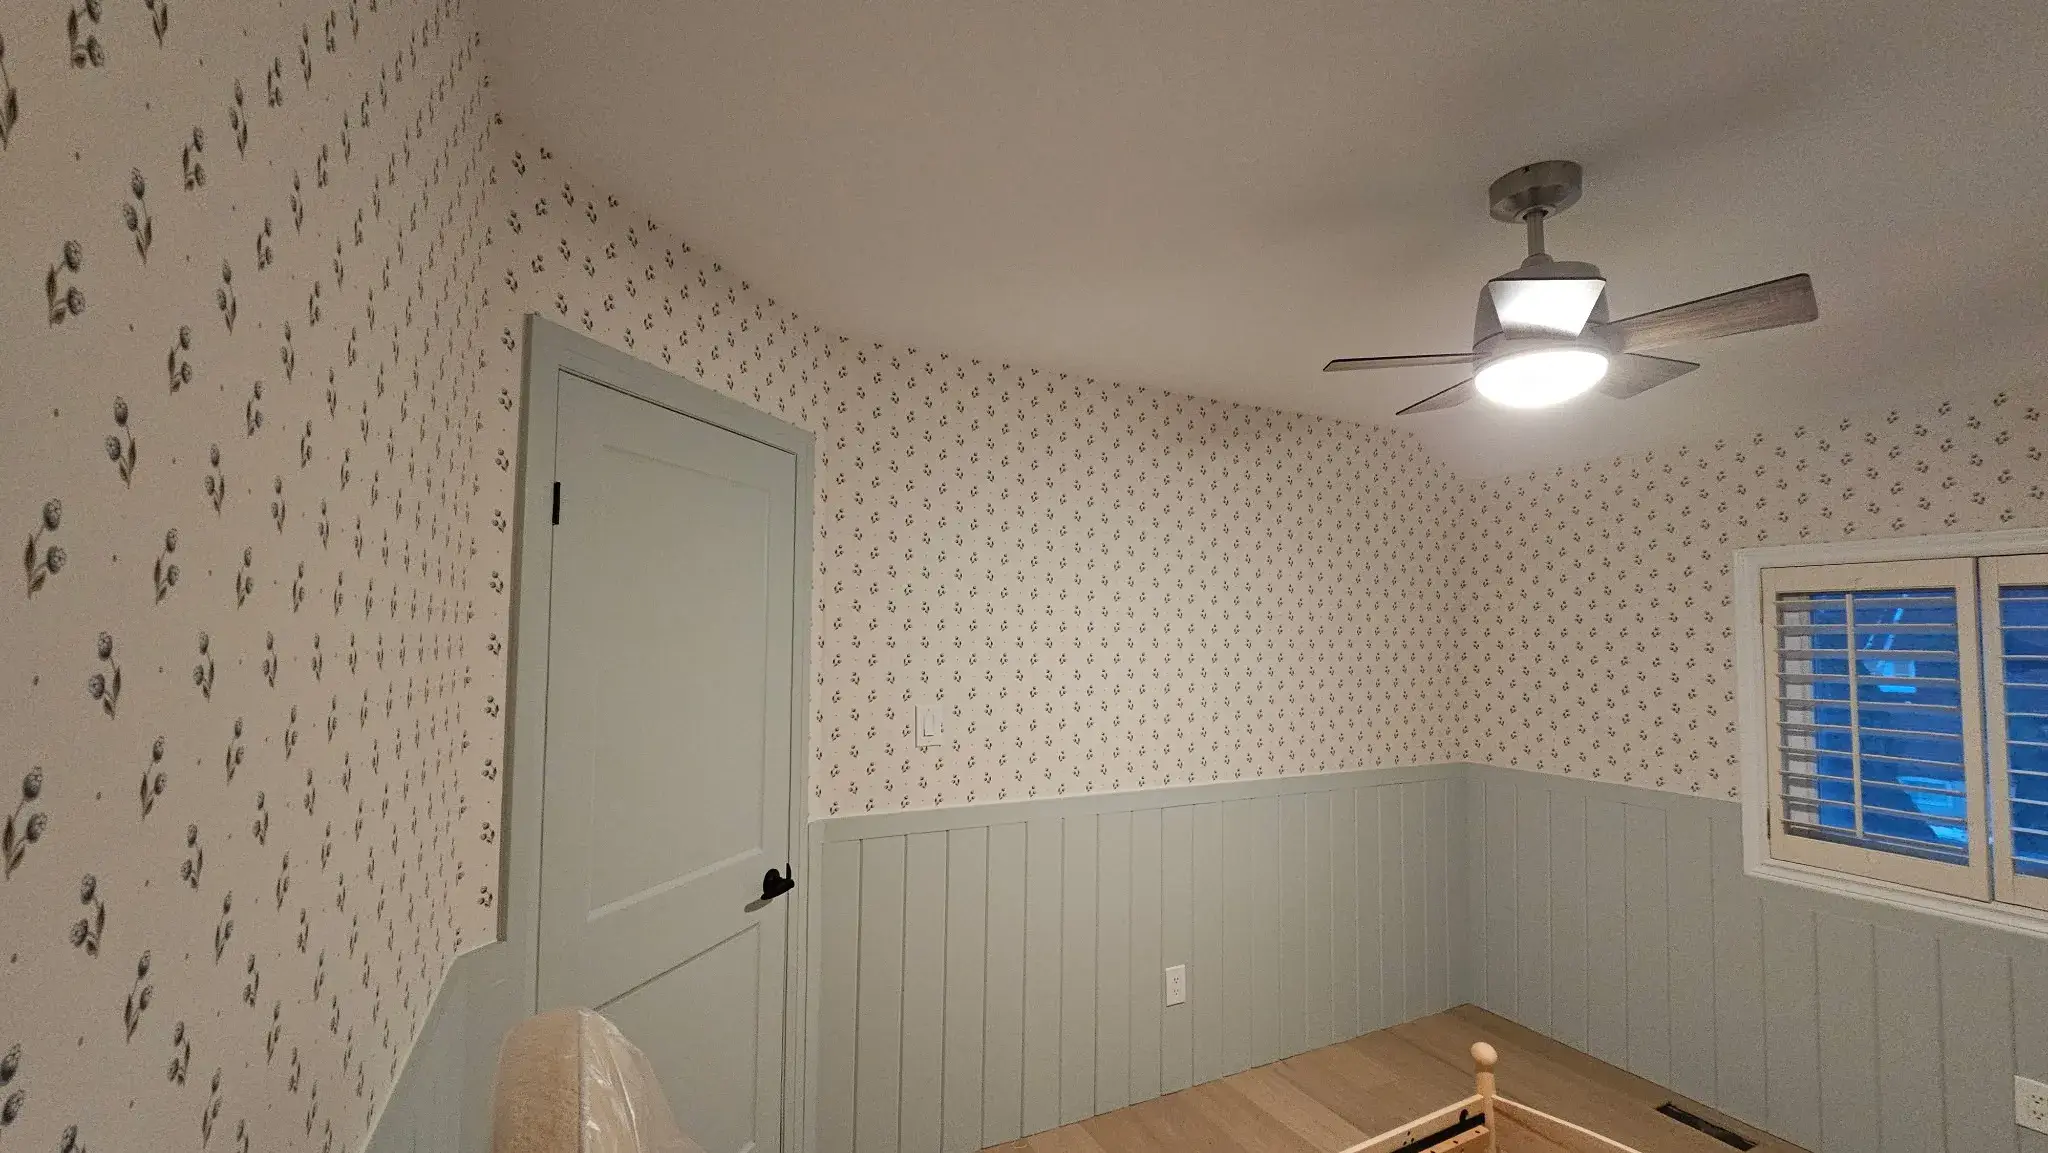
Installing Wallpaper:
- Measure and cut your wallpaper strips.
- Apply adhesive as per the instructions, ensuring uniform coverage.
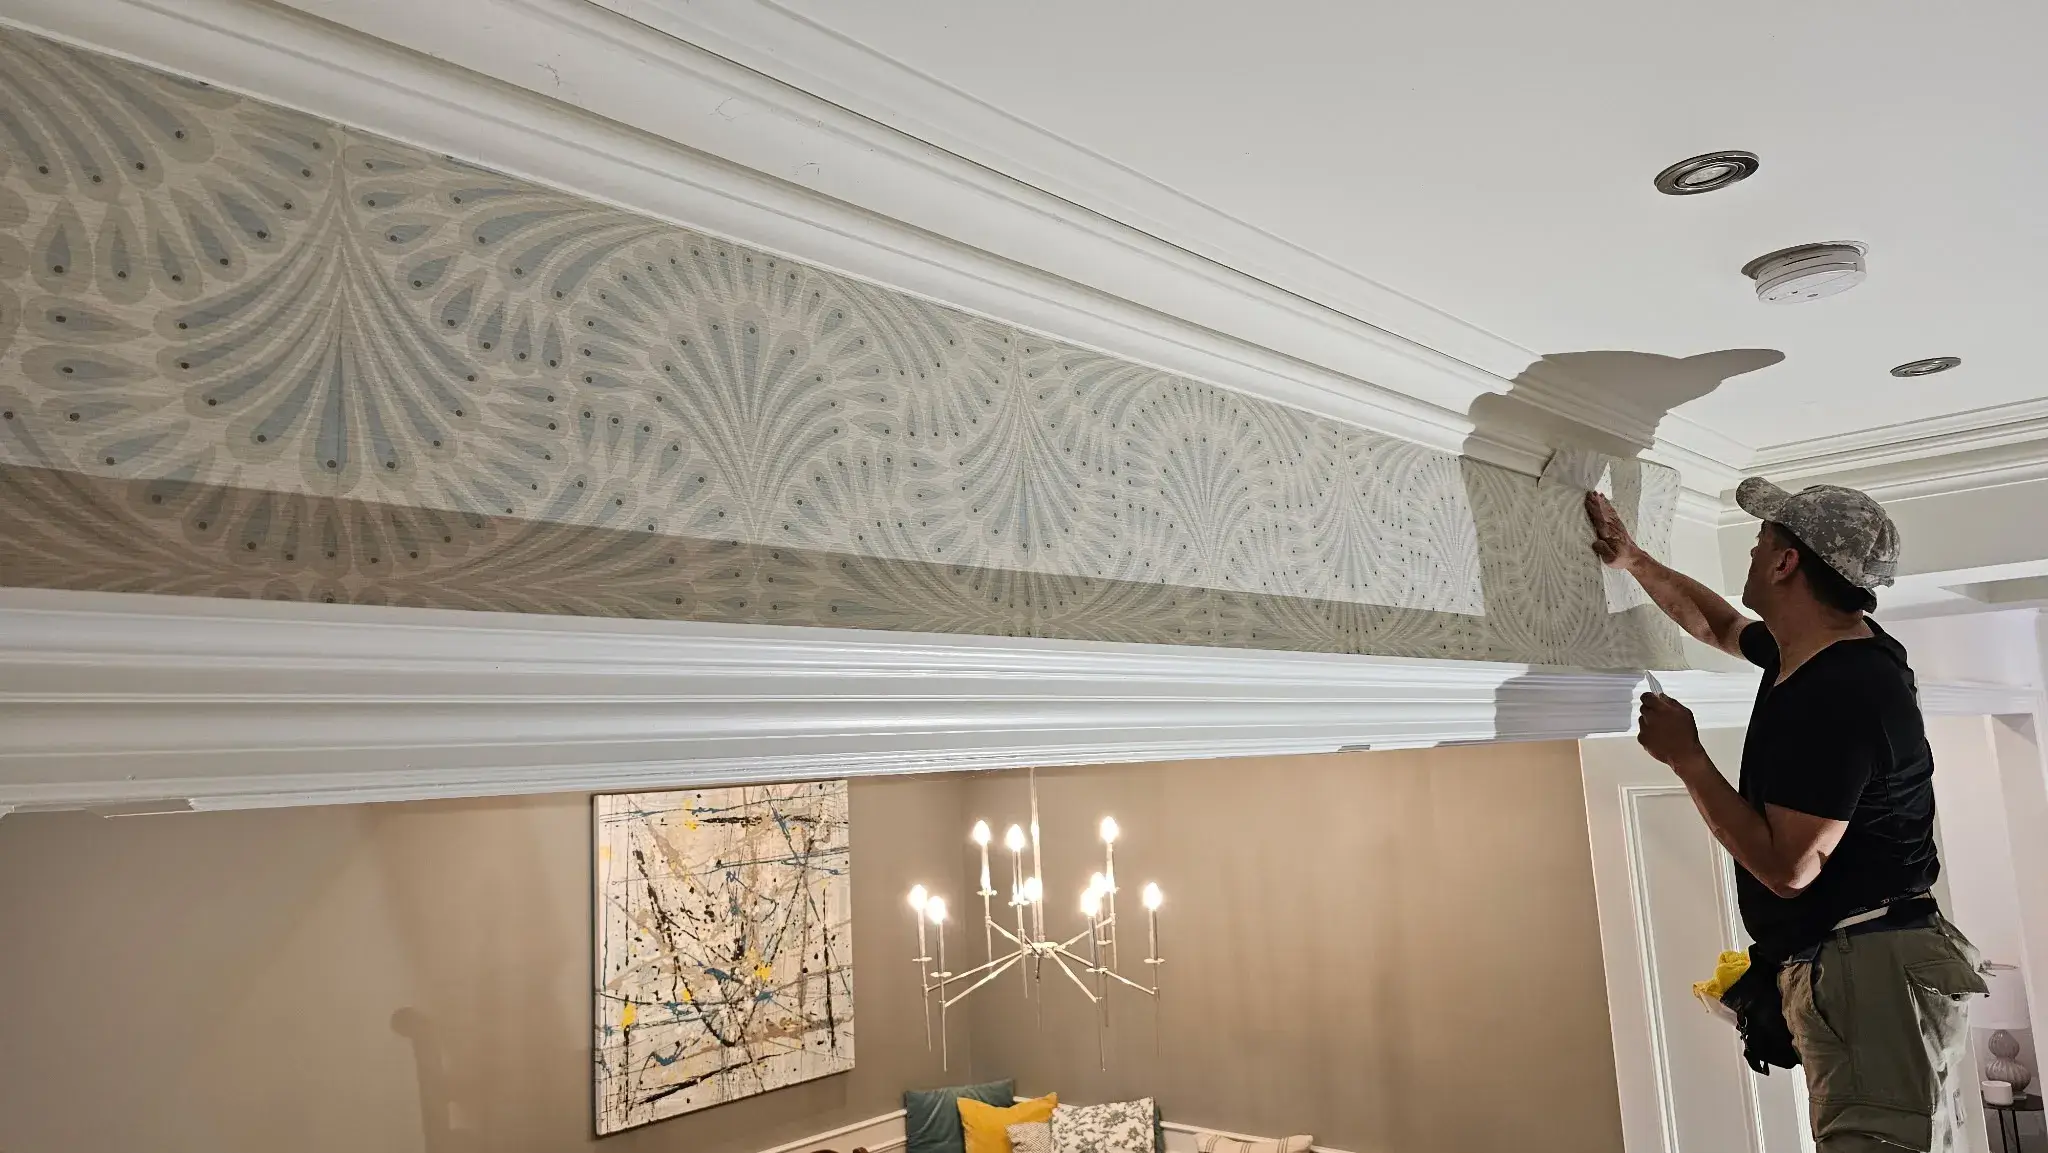
- Align the first strip carefully and smooth out any bubbles using a brush.
- Repeat for additional strips, making sure to match patterns seamlessly.
Installing Electronics:
- Start with the base unit or main hub, connecting it to power and the necessary components.
- Follow the user manual to ensure each cable is connected appropriately.
- Perform a quick functionality check to ensure everything is working together.
Common Challenges and How to Overcome Them
Installation projects often come with their unique set of challenges. Being prepared for these can make a huge difference in achieving a flawless result.
Dealing with Errors
Mistakes can happen in any installation process.
- Double-check measurements before cutting materials.
- If wallpaper becomes wrinkled, a gentle heat source can help smooth it out.
- For electronics, resetting devices can often resolve connection issues.
Identifying Compatibility Issues
Sometimes, components may not fit or integrate as anticipated.
- Research compatibility before purchases, especially when dealing with technology.
- If using third-party materials, confirm they are compatible with your existing systems.
Post-Installation: Checking for Flaws
After installation, a careful inspection is key.
- Look for any visible blemishes in wallpaper installations and reapply adhesive where necessary.
- Check that all electronic devices function properly and settings are adjusted.
Maintaining Your Installation
Once you have completed the installation, maintaining its integrity is vital.
- For wallpaper: Regularly check for bubbles or peeling and fix them immediately.
- For electronics: Keep the software updated and regularly check connections.
Regular maintenance can prolong the life of your installation and ensure it remains visually appealing and functional.
When to Seek Professional Help
While many installations can be handled independently, some projects are complex and may require professional assistance.
- If you’re unsure about your abilities or understanding of the task.
- For installations involving advanced technology or intricate designs, professional help can save time and ensure quality.
WallpaperInstaller.ca is an excellent resource for those who want expert help with their wallpaper installations. With professionals eager to assist, you can achieve that flawless finish without the stress.
Whether you’re a DIY enthusiast or a newbie, following a structured, step-by-step guide will not only ease the process but significantly improve the quality of your installation. Remember, proper preparation, patience, and a willingness to learn from potential mistakes can pave the way for a flawless installation experience. When in doubt, don’t hesitate to reach out to professionals like those at WallpaperInstaller.ca, ensuring you get the results you desire.