

Understanding Wallpaper Types and Materials
Before diving into the process of hanging wallpaper, it’s crucial to understand the various types available. Each type has its own characteristics, applications, and, most importantly, hanging techniques.
Vinyl Wallpaper
Vinyl wallpaper is popular due to its durability and ease of maintenance. It can be cleaned with soap and water, making it ideal for high-traffic areas.
Paper Wallpaper
Traditional paper wallpaper offers a more elegant and organic feel. However, it is less durable and requires extra care during installation since it can be more susceptible to tearing.
Fabric Wallpaper
This luxurious option adds texture and warmth to a room. Fabric wallpaper often requires professional installation due to its delicate nature and the specialized adhesives needed.
Pre-Pasted Wallpaper
Pre-pasted wallpaper comes with adhesive applied, which makes it a convenient option for DIY enthusiasts. You only need to activate the adhesive with water before application.
Preparing Your Space for Wallpaper Application
Preparation is key when hanging wallpaper. A clean, smooth surface will ensure your wallpaper adheres well and lasts longer.
Gather Your Tools
To achieve a professional finish, gather the following tools:
- Wallpaper primer
- Utility knife
- Wallpaper brush or smoothing tool
- Level
- Measuring tape
- Wallpaper adhesive
- Sponge and water for cleanup
- Seam roller
- Drop cloths
Prep the Walls
1. Clean the Surface: Remove dirt, dust, and grease from the wall. Use a mild detergent if necessary.
2. Repair Imperfections: Patch any holes or cracks using joint compound. Sand it smooth once dry.
3. Apply Primer: Use wallpaper primer to create a suitable surface for the adhesive. This step enhances adhesion and can prevent moisture from damaging your walls.
Measuring and Cutting Wallpaper
Getting accurate measurements will save you from the frustration of mismatched patterns or insufficient material.
Measure Your Walls
1. **Height and Width**: Measure the height from the floor to the ceiling and the width of each wall.
2. **Consider Pattern Repeat**: If your wallpaper has a pattern, make sure to account for the repeat when cutting your strips.
Cut the Wallpaper
1. Lay Out the Sheets: Roll out your wallpaper on a flat surface.
2. Use Your Utility Knife: Cut lengths according to your measurements, adding an extra few inches to each strip to ensure adequate overlap.
3. Label Each Piece: If your wallpaper has a pattern, number each piece to avoid confusion during installation.
Applying the Wallpaper
Once your walls are prepped, and your wallpaper is cut, you can begin the installation.
Start with the First Strip
1. Apply Adhesive: For non-pre-pasted wallpapers, spread the adhesive on the wall or the back of the paper, as per the manufacturer’s instructions.
2. Position the Strip: Using a level, mark a straight line on the wall to guide your installation. Align the top of the strip with your mark.
3. Press and Smooth: Use your wallpaper brush or smoothing tool to eliminate any air bubbles. Work from the top to the bottom and from the center outward.
Applying Subsequent Strips
1. Overlap the Seams: For a seamless look, slightly overlap the edges of each strip.
2. Use a Seam Roller: After positioning each strip, use a seam roller to secure the edges and ensure they adhere properly.
3. Trim Excess Wallpaper: Once all strips are up, use your utility knife to trim excess wallpaper at the top and bottom.
Dealing with Common Challenges
Even professionals face challenges when hanging wallpaper. Here are some common problems and how to tackle them.
Air Bubbles
If air bubbles appear, gently lift the wallpaper in that area and smooth it down while pushing the air outwards.
Mismatched Patterns
To avoid mismatched patterns, always check your cuts against the wall before applying adhesive. If you discover a mismatch after the fact, you may need to carefully adjust or re-cut that section.
Wrinkles
If wrinkles develop, carefully peel back the affected area, then re-smooth and use adhesive as necessary to ensure a flush application.
Finishing Touches
The finishing touches will help ensure durability and aesthetic appeal.
Sealing the Edges
Consider using a clear, water-based sealer along the edges for added protection and to prevent moisture infiltration, especially in areas like kitchens and bathrooms.
Cleanup
Immediately clean any excess adhesive using a damp sponge. Allow your new wallpaper to dry completely, following the manufacturer’s drying time recommendations.
When to Hire an Expert
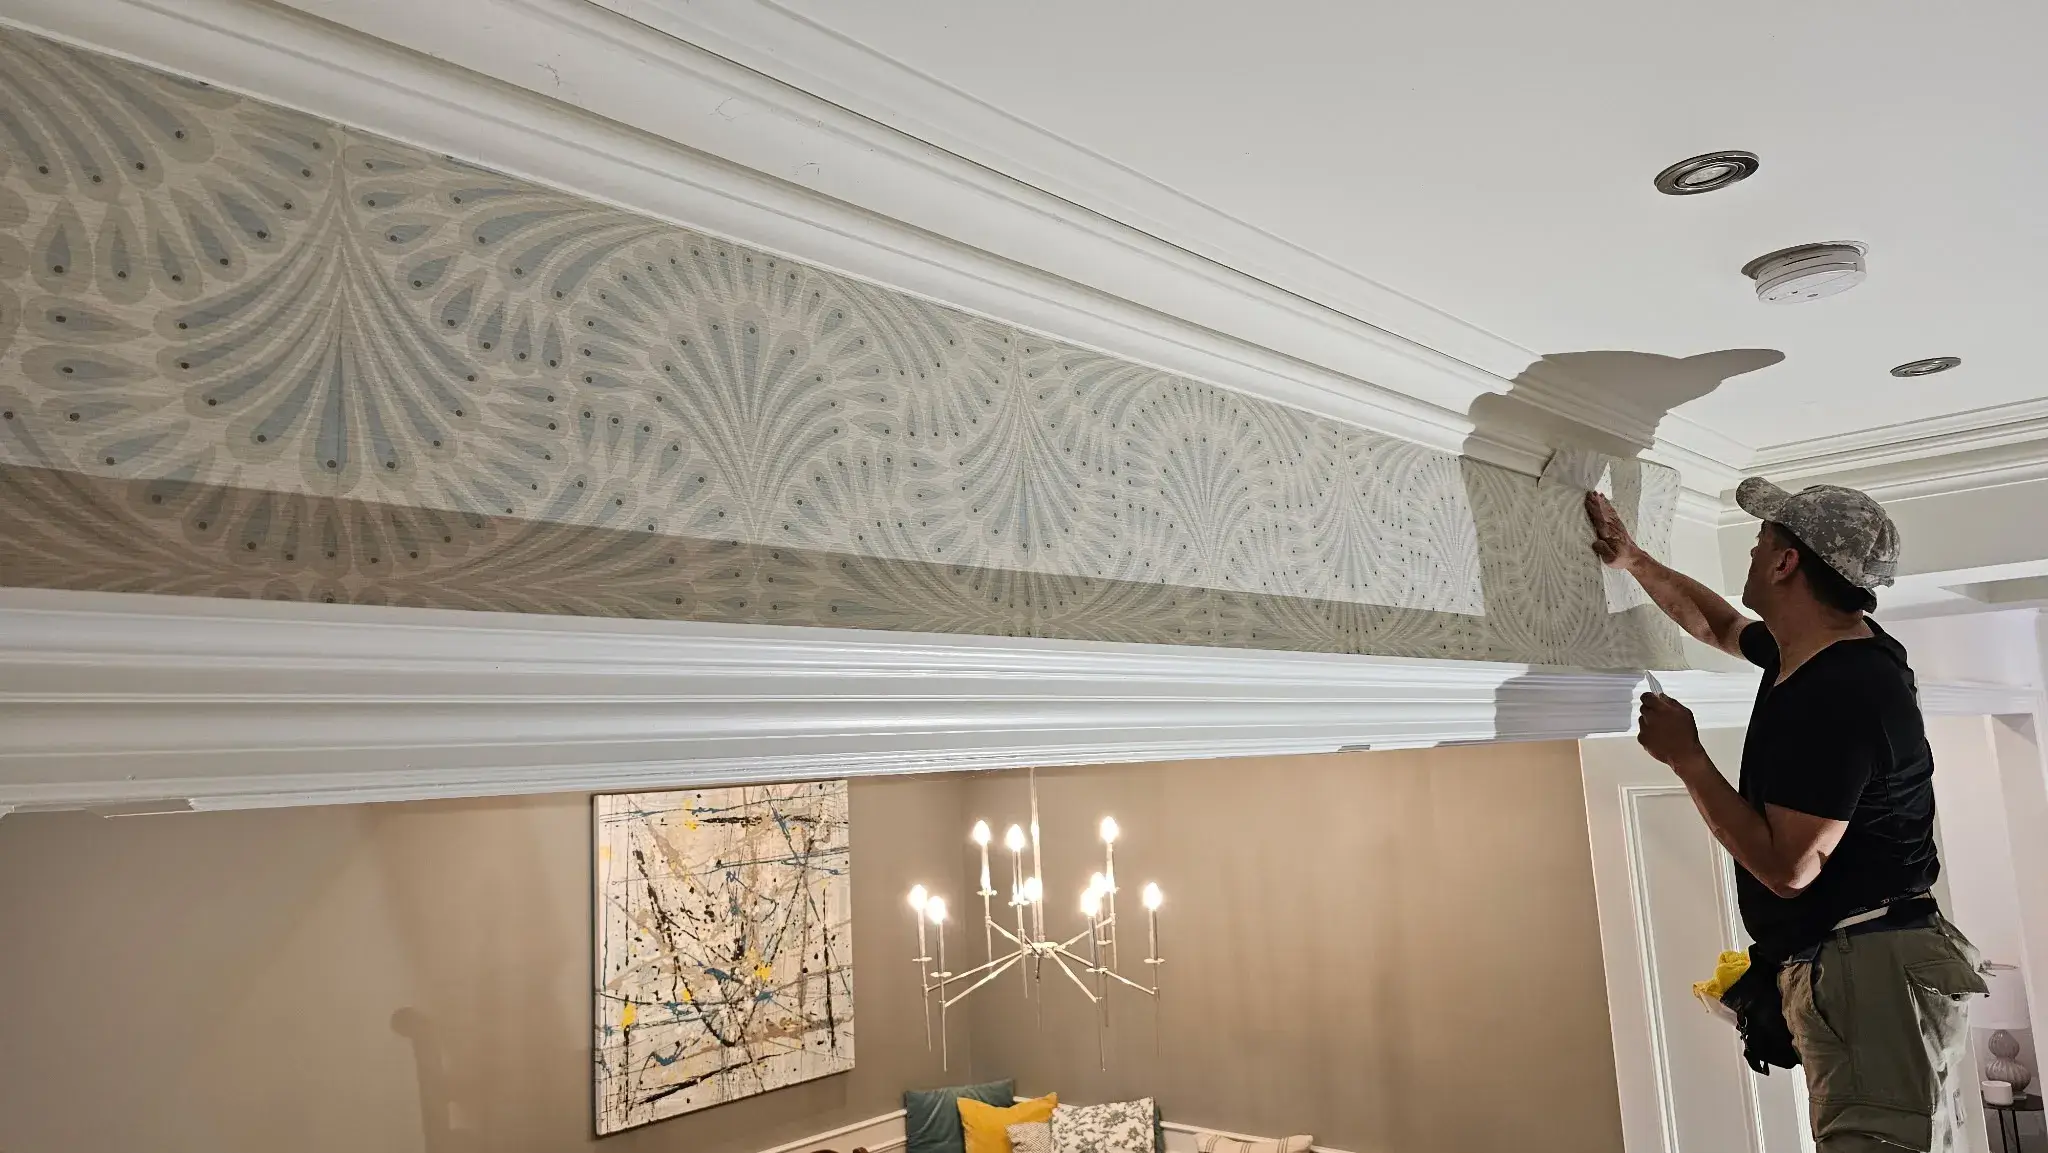
Despite your best efforts, sometimes it’s best to call in a professional. If you’re working with a particularly delicate wallpaper, a challenging pattern, or just don’t have the time, consider reaching out to professionals.
WallpaperInstaller.ca is an excellent choice for expert wallpaper installation services. Their experienced team can handle any type of wallpaper, ensuring the job is done flawlessly.
By hiring experts, you can avoid the stress and potential pitfalls associated with DIY wallpapering. Plus, you’ll save time and result in a perfect aesthetic without the hassle.
Hanging wallpaper like a professional requires knowledge, precision, and preparation. With the right tools, techniques, and a solid plan, you can transform your space beautifully. Whether you choose to tackle this project yourself or consult with experts at WallpaperInstaller.ca, the end result will breathe new life into your home.
By following these steps, you’ll not only achieve a stunning result but also gain confidence in your DIY skills. Happy wallpapering!